Checklist for Pumping in Different Time Zones
Travelling and pumping breast milk? Here's how to keep your milk supply steady and stress levels low, even across time zones. Whether you're crossing a few hours or flying halfway across the world, this guide covers everything you need to know.
Quick Tips for Pumping While Travelling:
- Stick to your home schedule for trips with a 1–3 hour time difference.
- Gradually adjust your pumping times for larger time differences (4+ hours).
- Pack essentials: portable pump, manual backup, cleaning supplies, and storage bags.
- Store milk safely: Use coolers with ice packs or services like MilkStork for shipping.
- Stay hydrated: Drink plenty of water and eat energy-rich snacks.
Key Packing Checklist:
| Item | Purpose |
|---|---|
| Portable Pump | For hands-free pumping |
| Manual Backup Pump | Emergencies during power outages |
| Cleaning Supplies | Travel-sized soap, wipes, brushes |
| Milk Storage Bags | Extra for delays |
| Cooler with Ice Packs | Keeps milk cold for up to 24 hours |
With the right preparation, you can maintain your routine and ensure your milk stays fresh throughout your journey. Read on for detailed strategies, schedules, and tools to make pumping on the go easier.
Before You Travel
Know the Time Zone Differences
Understanding the time zone of your destination is key to maintaining your milk supply. For trips within a 3-hour time difference, you can usually stick to your regular pumping schedule . But if you're heading somewhere with a time difference of 4–5 hours or more, you'll need to carefully adjust your pumping times to keep your milk production steady .
Adjust Your Schedule in Advance
If you're crossing several time zones, start shifting your pumping schedule a few days before you leave. Focus on keeping the intervals between pumping sessions consistent instead of sticking to specific clock times. This gradual adjustment can make the transition smoother .
Pack the Right Pumping Essentials
Having a well-prepared pumping kit makes travelling much easier. Here’s what you should consider packing:
| Item | Purpose | Tip for Travel |
|---|---|---|
| Primary Pump | To express milk | Opt for a portable model with a battery backup |
| Manual Backup Pump | For emergencies | Compact and ideal for power outages |
| Cleaning Supplies | To keep equipment clean | Include travel-sized soap and a bottle brush |
| Power Adaptors | To power your pump | Bring a dual-voltage adaptor for international trips |
| Storage Bags | For milk collection | Pack extra bags for unexpected delays |
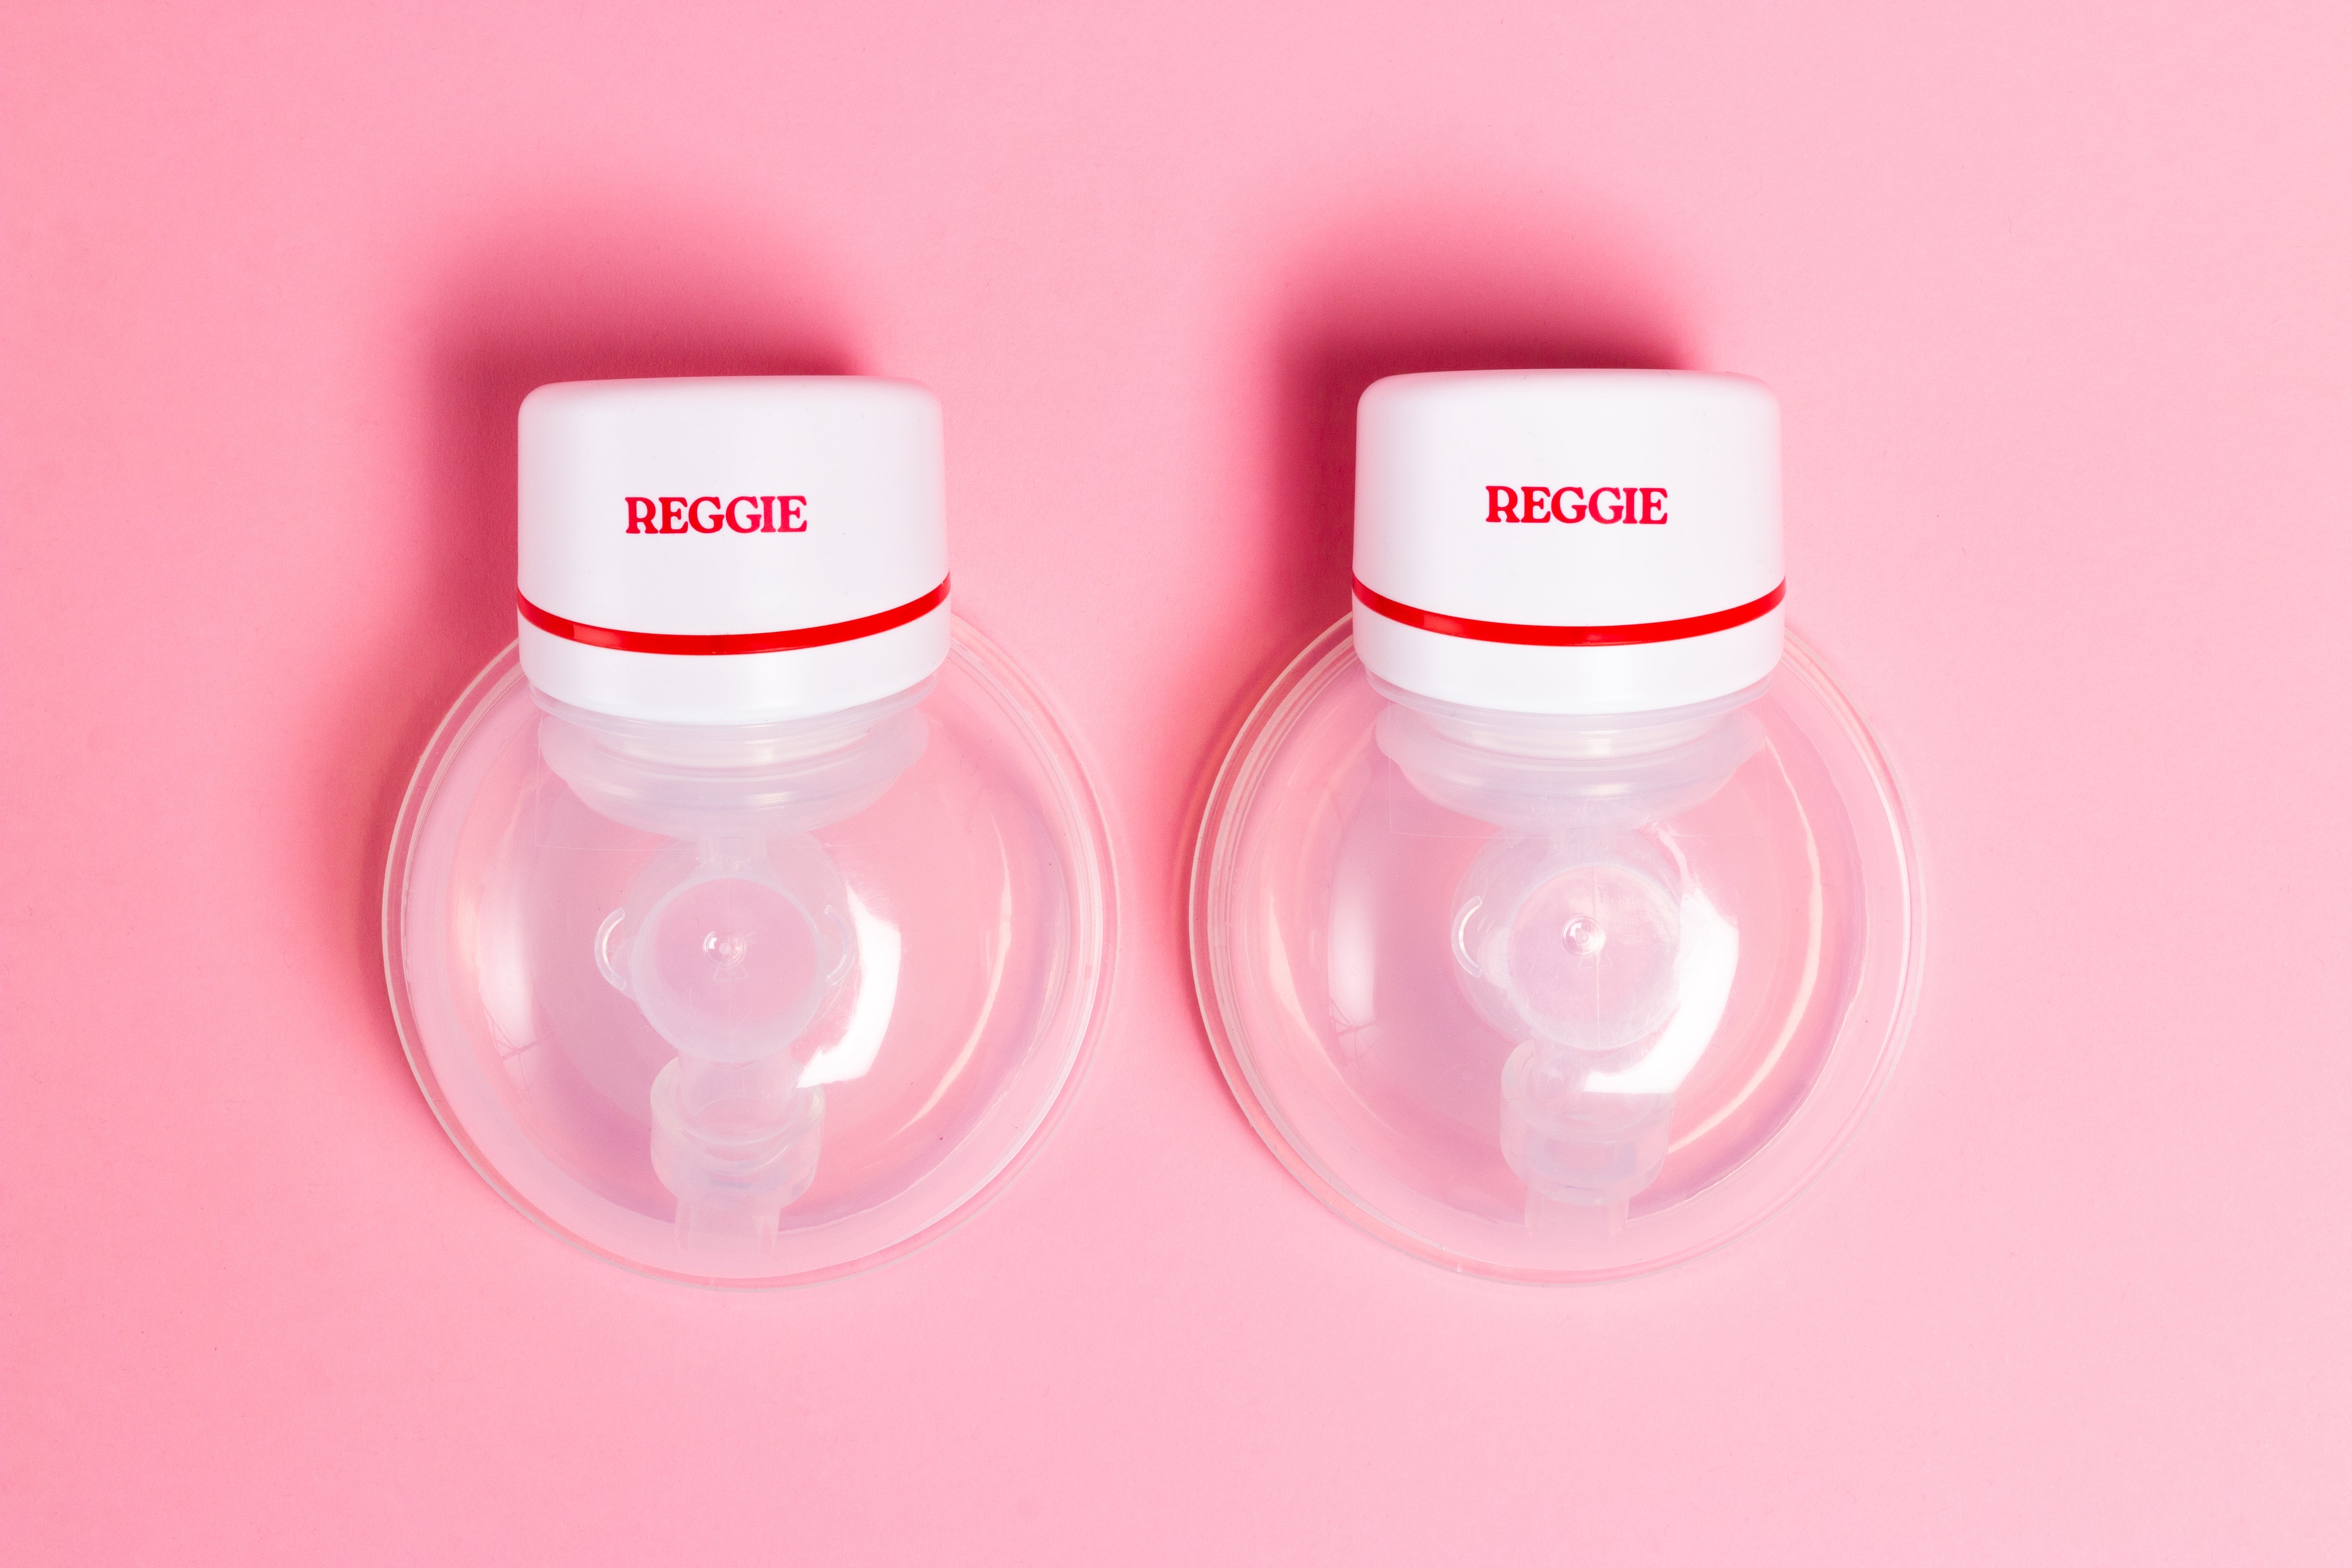
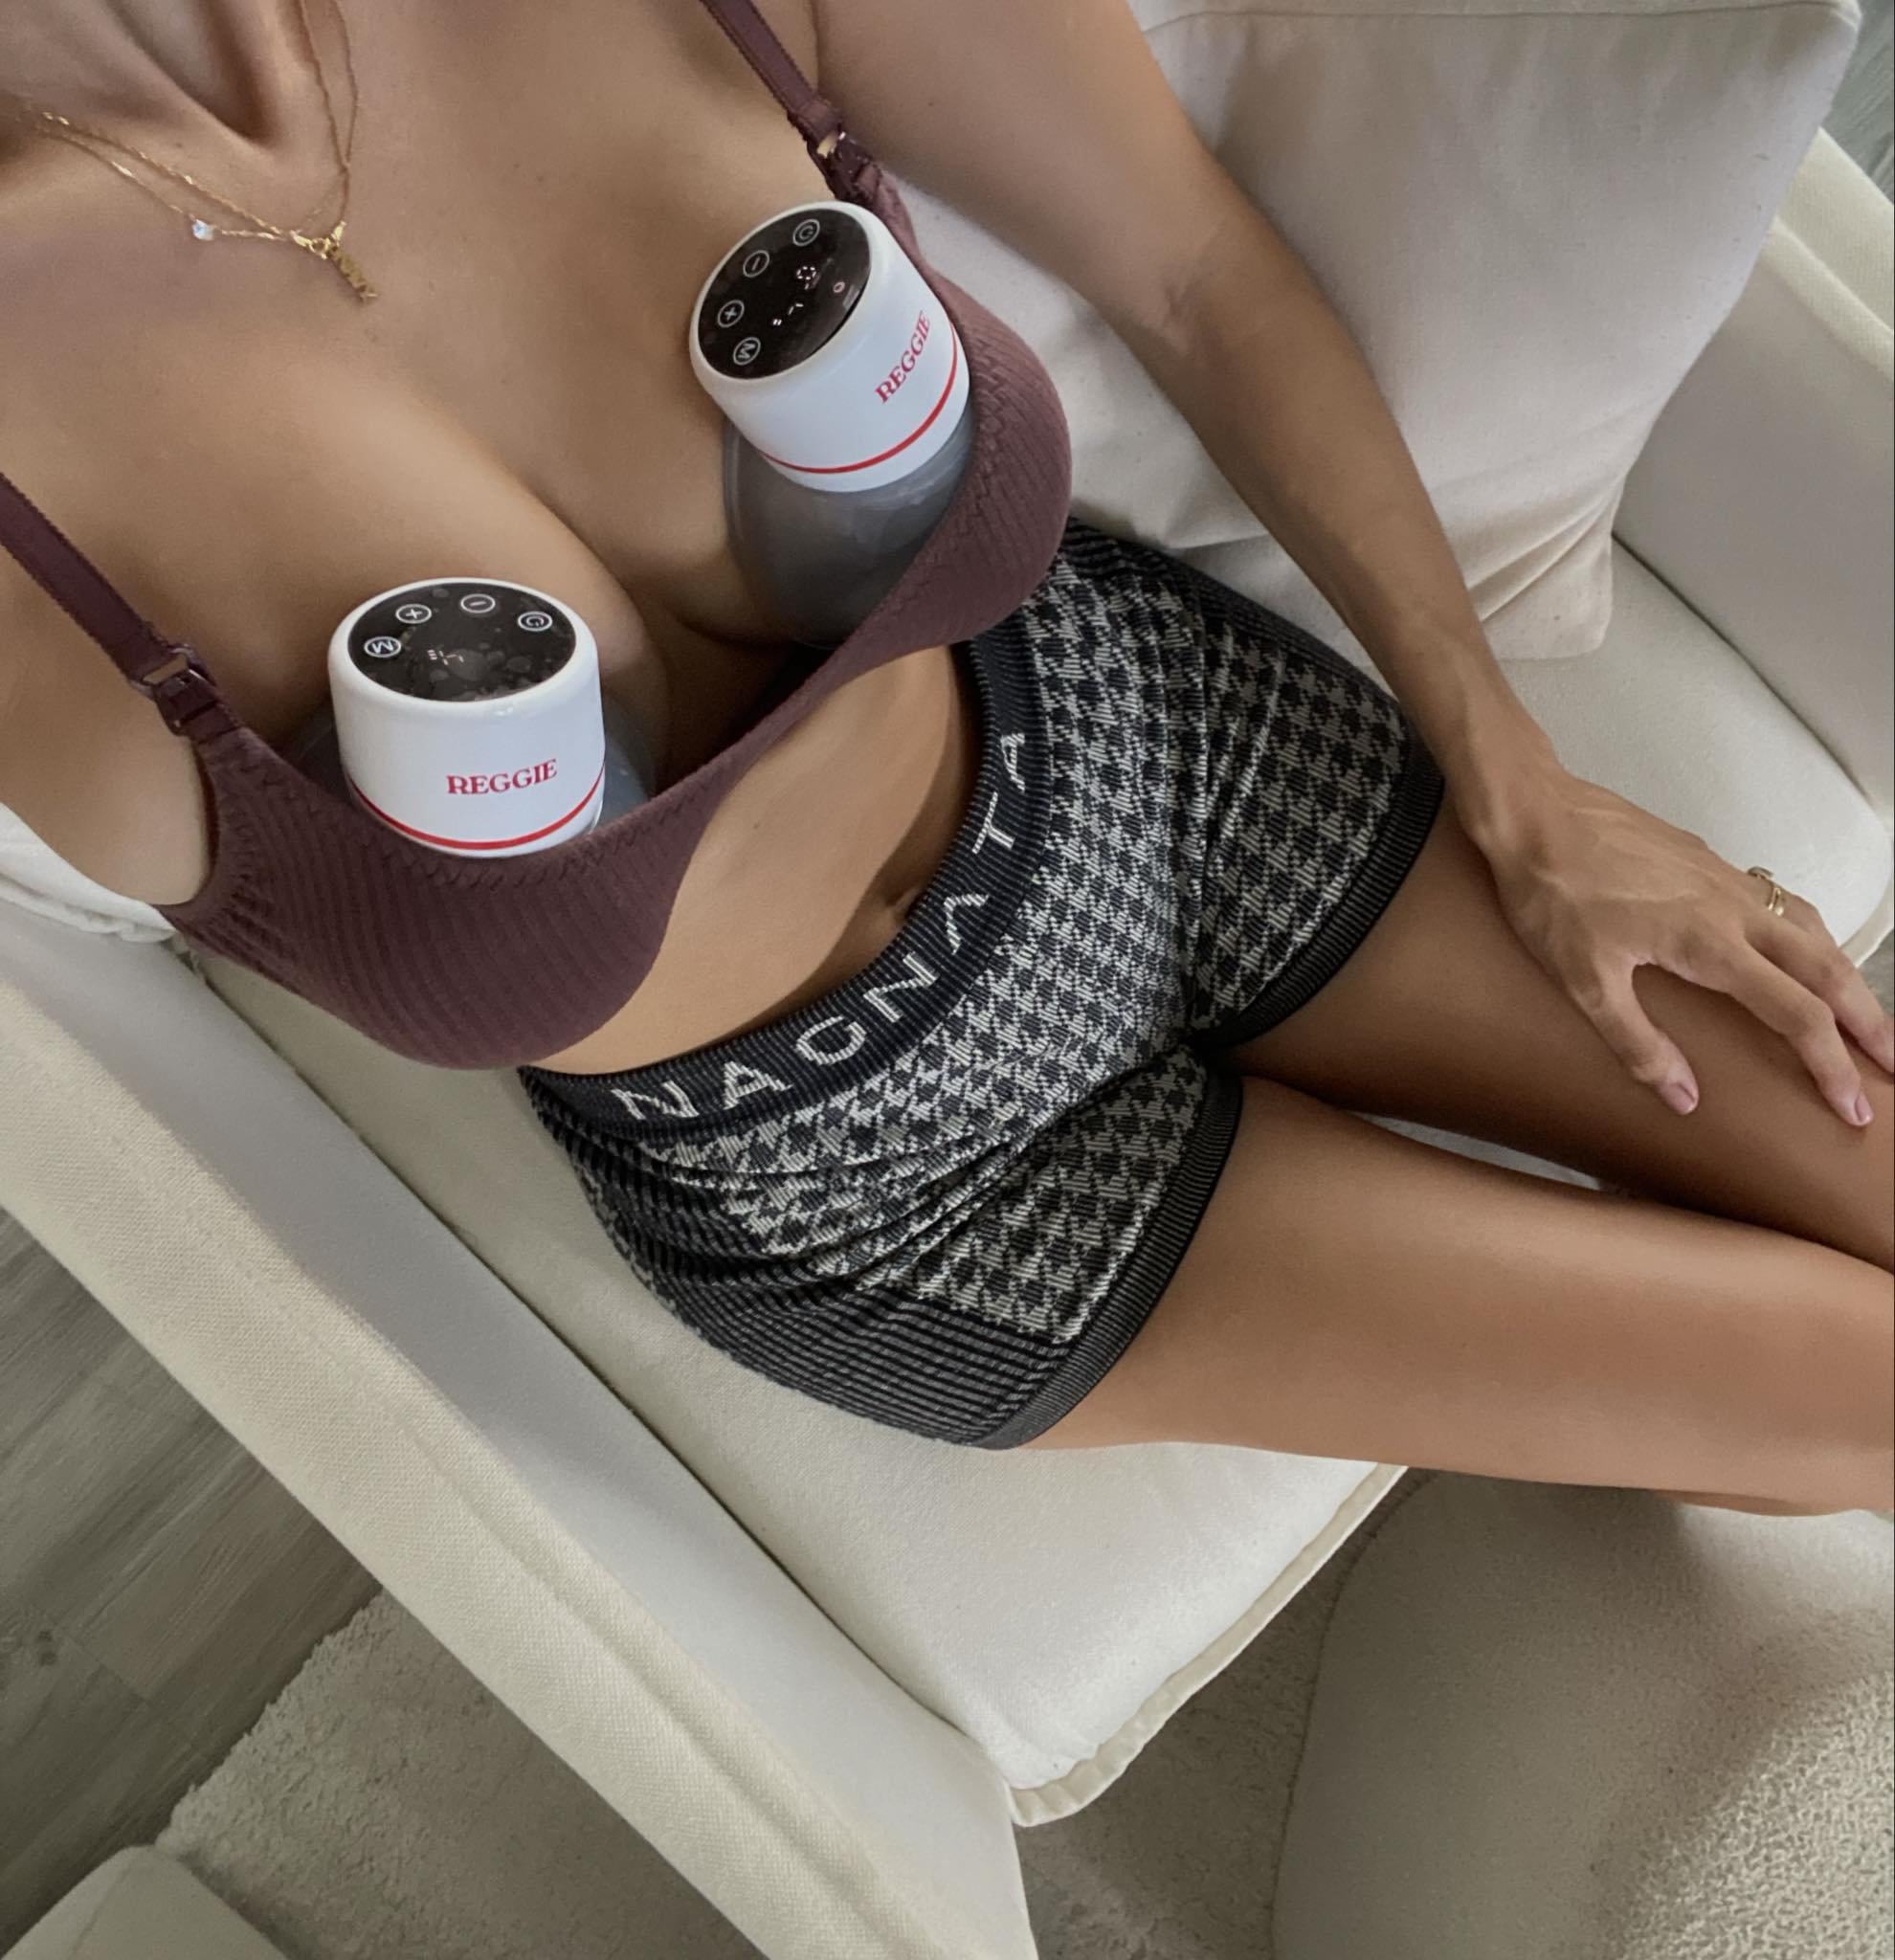
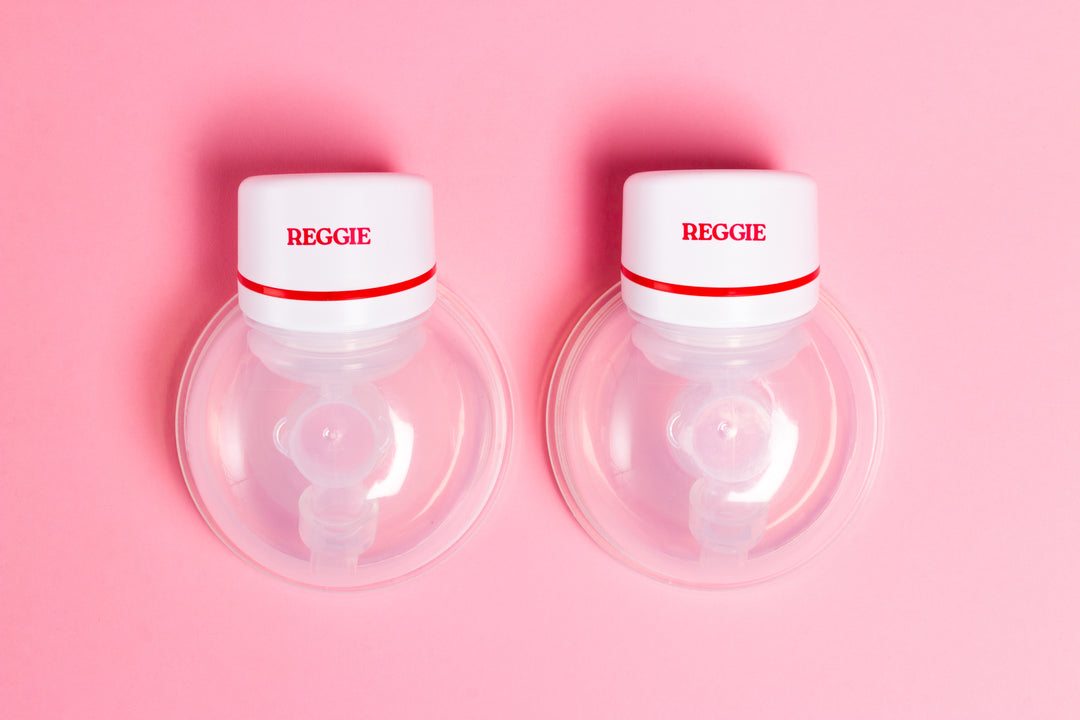
A wearable pump, like Reggie Baby's, can be a great option for hands-free pumping while on the go.
Plan for Milk Storage
Make sure your milk is stored safely during your trip. The TSA allows breast milk in carry-on luggage, even if you're not travelling with your child.
"Formula, breast milk and juice in quantities greater than 3.4 ounces or 100 milliliters are allowed in carry-on baggage and do not need to fit within a quart-sized bag... You do not need to travel with your child to bring breast milk."
– Transportation Security Administration
Here are some quick tips for milk storage during travel:
- Fresh milk can stay at room temperature for up to 4 hours .
- Use an insulated cooler with ice packs for trips lasting up to 24 hours.
- Contact your hotel or accommodation ahead of time to confirm fridge access .
For longer trips, services like MilkStork can help you ship your expressed milk home safely . Once you’ve settled in at your destination, you can adjust your pumping schedule accordingly.
Adjusting Your Schedule
With your essentials packed and your schedule ready, it's time to tweak your pumping routine to match your destination.
Stick to Your Usual Times
For short trips or quick layovers, try to keep pumping at your regular times. This helps maintain your body's rhythm and milk supply. This method works best for trips with a time difference of up to 3 hours, short stays, or when you're travelling with your baby.
Shift to Local Time Gradually
For longer stays in a new time zone, you'll need to adjust your pumping schedule step by step. Here's a simple guide for different time differences:
| Time Difference | Adjustment Plan | Time Needed |
|---|---|---|
| 1-3 hours | Stick to home schedule | Whole trip |
| 4-5 hours | Shift by 1-hour steps | 2-3 days |
| 6+ hours | Pump in the evening, then switch to 4-hour cycles | 3-4 days |
If you're dealing with a big time change, start with an evening pumping session and follow a new 4-hour cycle the next day . Once you're settled into the new schedule, double-check your packing checklist to ensure your gear aligns with your updated routine.
Tools to Stay on Track
Apps like Pump Log and Pumping Work can make managing your schedule across time zones much easier. These apps offer features like:
- Tracking session durations and milk output
- Custom alarms tailored to different time zones
- Monitoring time since your last session
- Logging milk storage locations
These tools can simplify the process and keep you organised while travelling.
What to Pack
Prepare for your trip with a well-thought-out packing list that supports your pumping needs.
Portable Pumps
Bring a wearable, wireless pump for convenience and discreet use while travelling. Add a manual pump as a backup in case batteries run out. Don’t forget extra pump components to ensure your routine stays on track.
Backup Parts
Pack 2–3 full spare sets of pump parts to avoid disruptions. For longer trips where you might not have easy access to a sink, bring enough parts to cover an entire day of pumping sessions .
Cleaning Kit
Keep your pump clean and ready to use with these essentials:
| Item | Purpose | Quantity Needed |
|---|---|---|
| Wipes for spot cleaning | Quick between-session cleaning | 2–3 per day |
| Travel-size bottle brush | For thorough cleaning | 1 |
| Sterilising bags | Sanitising pump parts | 4–5 bags |
| Dish soap | Washing pump components | 100 ml bottle |
| Microfibre cloth | Drying parts after cleaning | 2 pieces |
Storage Solutions
Once cleaned, store your milk properly to keep it fresh.
Breast milk can stay fresh for 24 hours in a cooler with frozen ice packs . Pack an insulated cooler, pre-sterilised storage bags, milk labels, and sealable bags for replacing ice.
If airport security doesn’t allow ice packs, you can request fresh ice from a food stand after passing security or from flight attendants during your flight . Milk can also be stored at room temperature for up to 4 hours, in a refrigerator for up to 4 days, and frozen for 6–12 months . At your destination, ask your hotel for a mini-fridge to safely store expressed milk.
sbb-itb-08733ff
Milk Storage During Travel
Airport Security Rules
Stay informed about the latest security guidelines for carrying breast milk. The TSA categorises breast milk as a medically necessary liquid, so you can bring amounts larger than 100ml in your carry-on .
To make the screening process easier:
- Use clear bottles to store the milk.
- Remove the milk from your carry-on for separate screening.
- Inform security officers about the breast milk before screening begins.
- Pack ice or gel packs for cooling, as these are allowed.
If you don’t want the milk to go through X-ray screening, let the security officer know. They can arrange alternative inspection methods .
Next, focus on keeping the milk at the right temperature during your journey.
Keeping Milk Cold
Temperature control is crucial for keeping breast milk fresh while travelling. A cooler with ice packs can preserve milk for up to 24 hours .
| Temperature Control Method | Duration | Notes |
|---|---|---|
| Insulated cooler with ice packs | Up to 24 hours | Regularly check the temperature |
For extended trips, dry ice can be a good option - just check your airline’s policies beforehand. Pre-chill your cooler and store the milk in sealed zip-lock bags for added protection .
Milk Shipping Options
If carrying milk isn’t practical, consider professional shipping services. These are especially helpful for longer trips when keeping milk cold is challenging.
Services like Maven Milk or Milk Stork provide specialised breast milk shipping kits .
When shipping breast milk:
- Freeze it in small portions (90–150ml).
- Use medical-grade shipping containers.
- Opt for overnight delivery early in the week to avoid delays.
- Label the package clearly with "Contains Breast Milk" and "Keep Refrigerated."
Some services, like Milkify, offer NanoCool containers that keep milk frozen for up to 96 hours without ice packs . These containers are more reliable than traditional styrofoam coolers but can be more expensive.
For international trips, some companies even offer freeze-dried breast milk shipping, making transport easier. Once you arrive, check for ice crystals in the milk to ensure it stayed frozen .
Choose the right storage or shipping method based on your travel plans and needs.
Health and Comfort
Travel can throw off your routines, so keeping an eye on your health is crucial for maintaining milk production. Beyond packing smart and adjusting your schedule, prioritising your well-being is a must.
Food and Water Needs
Staying hydrated and well-fed is key. Aim for 16 cups of water daily to support milk production . Keep a reusable water bottle handy and drink about 240 ml during each pumping session to stay hydrated .
Here are some food and drink suggestions to help:
| Nutrition Type | Recommended Options | Why It Helps |
|---|---|---|
| Hydrating Foods | Watermelon, celery, cucumbers, oranges | Boosts hydration and electrolytes |
| Protein-Rich | Yoghurt, protein bars, trail mix | Supports milk production |
| Electrolyte Sources | Coconut water, watermelon juice, powders | Balances fluid levels |
| Energy Foods | Bananas, avocados, sweet potatoes | Provides steady energy |
"Dehydration negatively impacts milk production, so make a conscious effort to drink plenty of water throughout your trip." - Omega Pediatrics
Regular Pumping Times
Keeping a consistent pumping schedule is just as important as adjusting to your travel itinerary. Try to fit in at least one pumping session between midnight and 5 am local time - this aligns with naturally higher prolactin levels . Power pumping can also help boost production. Don’t forget to label your milk with the time it was expressed .
Managing Discomfort
Travel can sometimes lead to engorgement or clogged ducts. To minimise discomfort, wear comfortable, supportive bras (no underwire!) and avoid sleeping positions that put pressure on your chest.
"As long as there's no fever involved and the breast gets emptied regularly, it's a normal process that should subside within a couple days." - Stephanie Heintzeler, IBCLC
Here are some tips to ease discomfort:
- Apply a warm, moist compress before pumping.
- Use a cold compress between sessions.
- Massage your breasts daily.
- Fully empty your breasts during each session.
You might also want to talk to your healthcare provider about lecithin supplements, which can help prevent clogged ducts . Lastly, take time for yourself - whether it’s a quick walk or some deep breathing, managing stress can positively impact milk production .
Conclusion
Travelling across time zones while pumping requires careful planning and dependable tools. A wearable, wireless breast pump, like Reggie Baby's, can help keep you on track. As Alex Nation puts it: "This portable breast pump is a total game changer... I can achieve so much stuff, all while expressing, and they are so comfortable. It's really gentle on the nipple and hugely effective as well" .
Here’s a helpful guide to make pumping while travelling easier:
| Category | What You Need | Why It’s Important |
|---|---|---|
| Equipment | Wireless pump, manual backup, adaptor | Keeps pumping uninterrupted |
| Schedule | Stick to feeding times, original time zone | Helps maintain milk supply |
| Storage | Bottles, cooler with ice packs | Preserves milk and meets security rules |
| Documentation | TSA rules, pumping rights info | Avoids issues at security checkpoints |


Leave a comment